Using a Pi-hole with UniFi

Following up from my previous post, let's assume you want to dive in and try it out. Well, here's how.
Introduction
Setting up Pi-hole to work seamlessly with your UniFi network is a great move. The absolute best way to do this is at the DHCP level.
By giving your Pi-hole's IP address to your devices via DHCP, the devices will talk directly to the Pi-hole for DNS requests. This keeps things fast and ensures your Pi-hole dashboard can actually see which specific device (e.g., "Dad's iPhone" vs. "Living Room Apple TV") is making which request.
Here is how to get it configured:
Step -1: Hardware & Installing Pi-hole
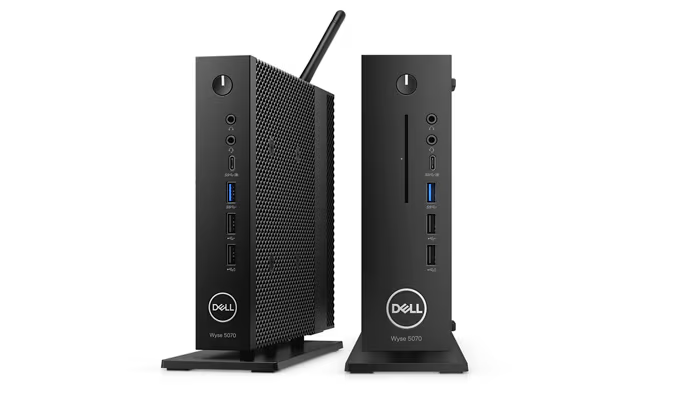
I'm assuming you have this already setup! Maybe a bit beyond the scope of what I was planning to cover here, but what I ended up doing was getting one of those cheap Dell Wyze 5070 thin-clients, installing an LTS ubuntu server instance, and installing Pi-hole on the bare metal device.
Pi-hole provides a highly reliable curl script that downloads and launches the installer.
- In your terminal, paste the following command and hit Enter:
curl -sSL https://install.pi-hole.net | bash - The script will download the necessary dependencies and then launch a blue-and-red text-based wizard in your terminal.
Step 0: Ensure Pi-hole has a Static IP
Before touching UniFi, make sure the device running your Pi-hole (whether it's a Raspberry Pi, a NAS, or a Proxmox container) has a static, unchanging IP address. If its IP changes, your entire network will lose internet access.
- Example IP: Let's assume your Pi-hole is at
192.168.1.53.
Step 1: Point UniFi DHCP to your Pi-hole
You need to tell your UniFi gateway to hand out the Pi-hole's IP address whenever a device connects to the network.
- Log in to your UniFi Network Application
- Navigate to Settings (the gear icon) > Networks.
- Click on your primary network (usually named "Default" or "LAN").
- Scroll down to the DHCP section. Note: Depending on your UniFi version, you may need to change "Advanced Configuration" from Auto to Manual to see these settings.
- Find the DHCP DNS Server setting.
- Uncheck "Auto" and enter your Pi-hole's static IP address (
192.168.1.53) in the DNS Server 1 field. Leave DNS Server 2 blank, or add a secondary Pi-hole if you have one. Do not put an external DNS like 8.8.8.8 as a secondary, or devices will bypass your Pi-hole. - Click Apply Changes.
- (Optional) Repeat this process for any other VLANs (like IoT or Kids networks) that you want filtered.
Step 2: Enable Conditional Forwarding in Pi-hole
Right now, Pi-hole handles the DNS, but it doesn't know the friendly hostnames of your devices (it just sees their IP addresses). Conditional Forwarding tells Pi-hole to ask the UniFi Gateway for those friendly names.
- Log in to your Pi-hole Admin Interface.
- Go to Settings > DNS tab.
- Scroll all the way down to Advanced DNS settings.
- Check the box for Use Conditional Forwarding.
- Fill in the three fields:
- Local network in CIDR notation: Usually
192.168.1.0/24(adjust if your subnet is different). - IP address of your DHCP server (router): Your UniFi Gateway IP (usually
192.168.1.1). - Local domain name: Usually
localdomainunless you changed it in UniFi.
- Local network in CIDR notation: Usually
- Click Save at the bottom.
Step 3: Refresh Your Devices
The new DNS settings won't apply to your devices until they renew their DHCP leases.
- For phones and laptops, simply turning Wi-Fi off and back on is enough.
- For hardwired devices like TVs or consoles, a quick restart will pull the new DNS info.
Once your devices reconnect, you should immediately see traffic populating on your Pi-hole dashboard with proper client names.


